In this article
How to make the flight map
Start with the flight you want to show
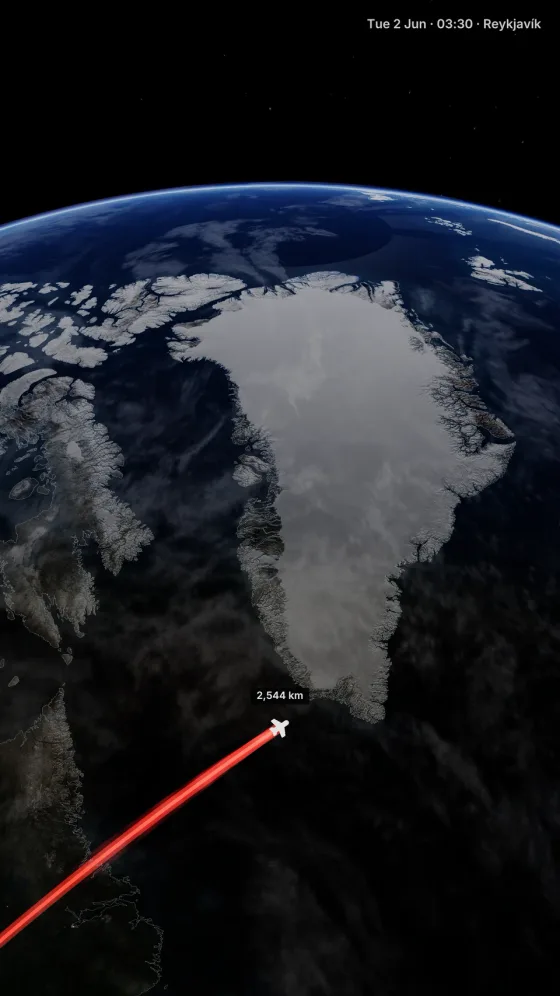
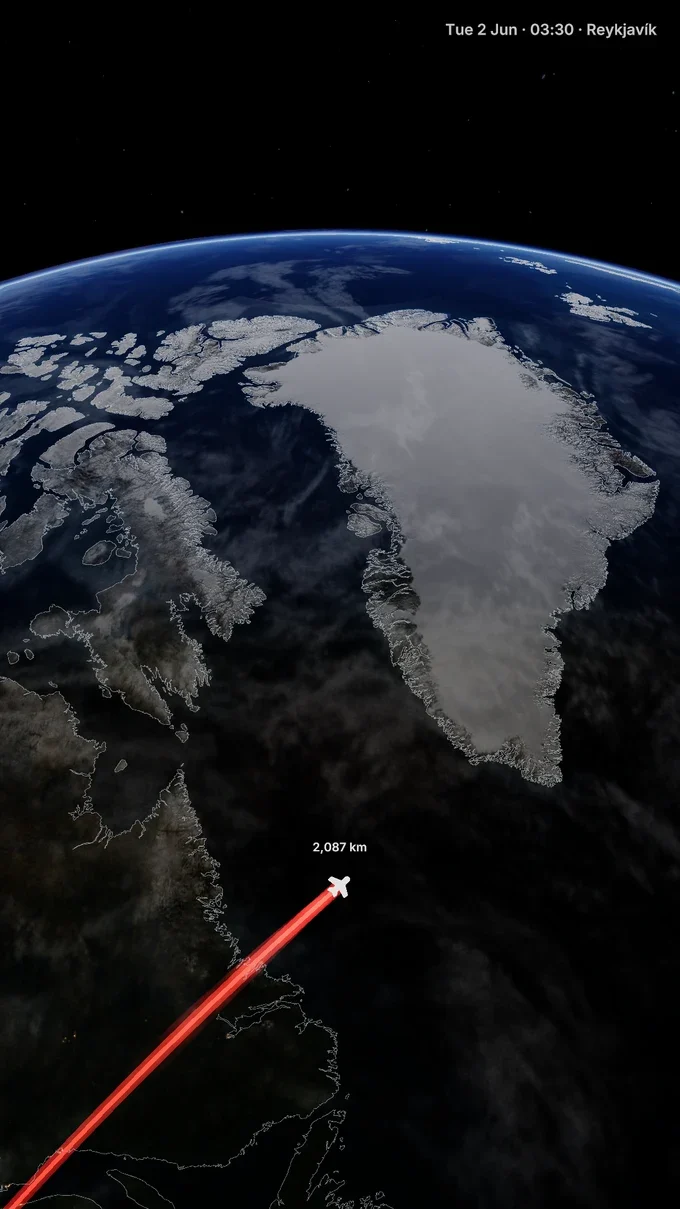
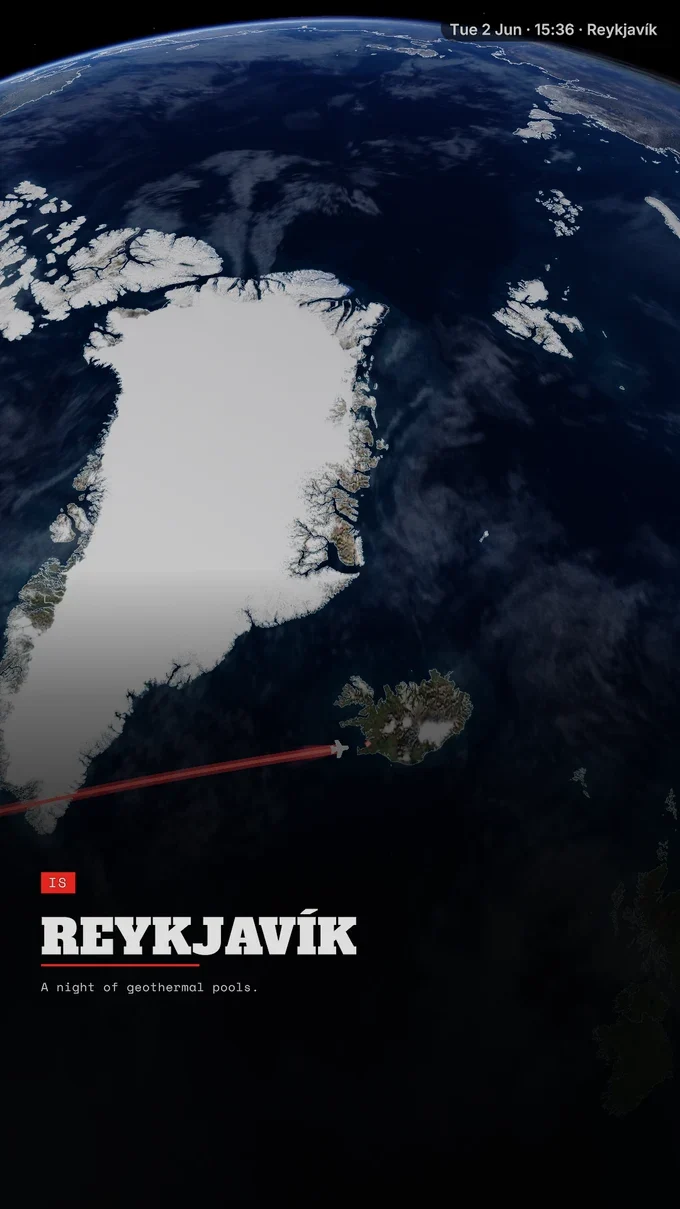
In this vertical video, a flight arc crosses the Atlantic from New York to Reykjavík, then the camera settles on the destination. Watch it through to the arrival before building your own version.
Add the cities and choose Flight
Start a new trip
Tap the trip name to open your trip library, then choose New trip. In Trip, open Stops and tap Add stop. Search for your departure city and select the matching place and country. This example starts with New York, US.
Add the destination
Tap Add stop again and select your arrival city. For this example, add Reykjavík, Iceland. Check that departure comes first and arrival second; drag a stop if the order is wrong.
Set the connection to Flight
Tap the connection between the cities and choose Flight. This connection is called a leg. Confirm that its row now says Flight before previewing.
Give the arrival one useful detail
In Trip, open Stops and tap the arrow beside a stop to edit Dates & times and Caption. The example departs New York on 1 June 2026 and arrives in Reykjavík on 2 June. Use your own travel dates, including the date change when you arrive the following day.
For the Reykjavík Caption, the example uses “A night of geothermal pools.” Write a similarly short memory or plan that adds something to the city name. Leave Caption empty when the destination and date already tell the viewer enough.
Play the arrival at phone size. If you cannot finish the caption before the sequence moves on, shorten it and preview again.
Choose the look and video shape
To use the red route line and bold lettering shown here, open Style, then Theme, tap Manage Themes, and tap Use on the theme named Signal. To make the camera follow the crossing, open Scene in Style and choose Journey under Direction, the control for camera movement.
Open Export video to choose Aspect ratio. Use 9:16 for a tall phone video like this example, or 16:9 when the map will fill a landscape film. Close the export sheet and preview the chosen shape before exporting.
Watch the crossing through to the arrival
Play the whole trip in the shape you intend to save and check these moments:
- Departure: the starting city is the place you meant to choose, and any displayed date is correct.
- Crossing: the route travels toward the intended destination and the Flight arc rises above the globe.
- Arrival: you can read the destination and any caption before the sequence continues.
- Finish: the ending makes sense before the next shot in your edit, or by itself if you are sharing the map alone.
Check the duration shown in the export sheet against the space you have in your edit. The length depends on your stops and camera settings. If you change either, preview again before deciding where the map belongs beside your footage.
Export the video and save it to Photos
Check the export settings
Open Export video and confirm Aspect ratio. Choose Resolution and Framerate for the finished edit. For a map shared by itself, 1080p and 30 fps are a useful starting point.
Create and watch the file
Tap Start export and keep TrailVid open on your iPhone while it finishes. Play the completed video in the result screen to check the opening, crossing, arrival, and ending together.
Save to Photos
Tap Save to Photos and allow the requested access if iOS asks. Open Photos to find the saved video, then share it or bring it into your editing app.
TrailVid exports silent video with a small TrailVid badge. Add music or narration in your editing app. For a travel film, try placing the map between your departure footage and your first Reykjavík shot so the animation explains the change of place.
When the flight becomes part of a larger edit
Questions
Common questions
How do I show a connecting flight?
Add the connecting city between the first departure and final destination, then choose Flight on both legs. Include it when the viewer should understand that stop in the journey. Each added city becomes part of the map sequence, so preview the longer trip before exporting.