In this article
- Build your route and preview it
- Export and save your first video
- Start from the trip data you already have
- Use the nine-stop trip to plan several cuts
- Keep one complete film for the whole route
- Cut three chapters that still feel like one journey
- Make highlights that can be shared alone
- Choose how each clip starts and ends
- Compare themes on the same arrival
- Export each cut for where it will actually appear
- Questions
The short answer
Build your route and preview it
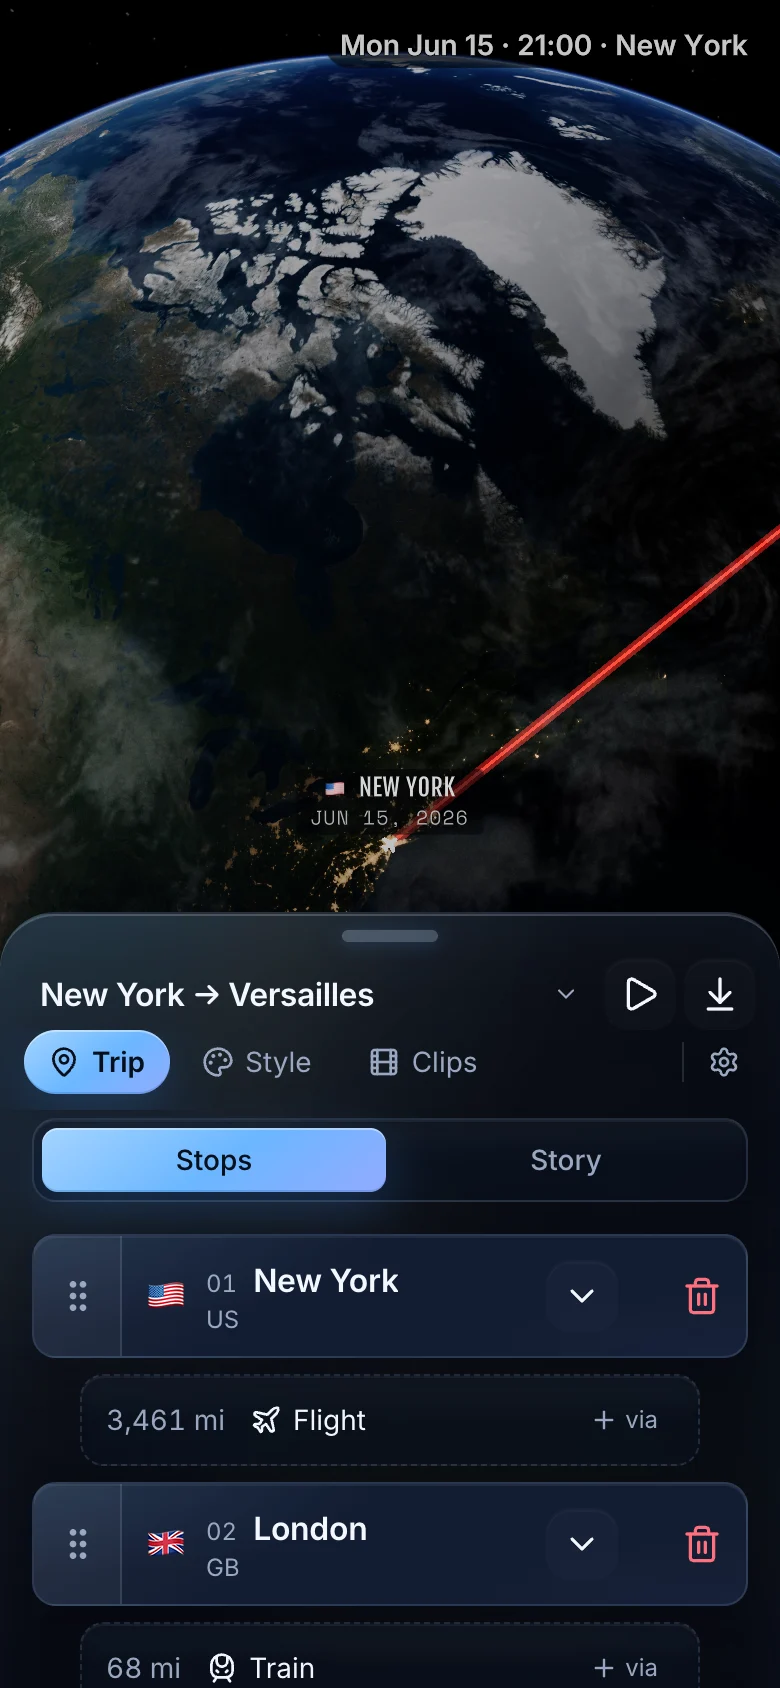
Install the TrailVid public beta on iPhone and start with a trip you know well. Have your departure and destination ready; you need at least two places to animate a route.
Get the iPhone app
Create a trip
Tap the trip name above the Trip, Style, and Clips tabs to open your saved trips, then choose New trip.
Add the places in travel order
Tap Add stop, search for your departure, and select the matching place. Repeat for the destination and any visits between them. Check the country when a place name has several matches.
Choose how you travelled
The connection between two stops is a leg. Tap its transport row and choose how you travelled, such as Flight, Car, Train, or Walk. A flight draws an arc above the globe; ground travel stays near the surface. Repeat for every leg.
Choose the look and preview
Open Style, then Theme to choose a look for the map, titles, and place names. To have the camera follow your route, open Scene in Style and select Journey under Direction. Press Play and check the order of the places, the route between them, and whether you can read each place name before the camera moves on.
Export and save your first video
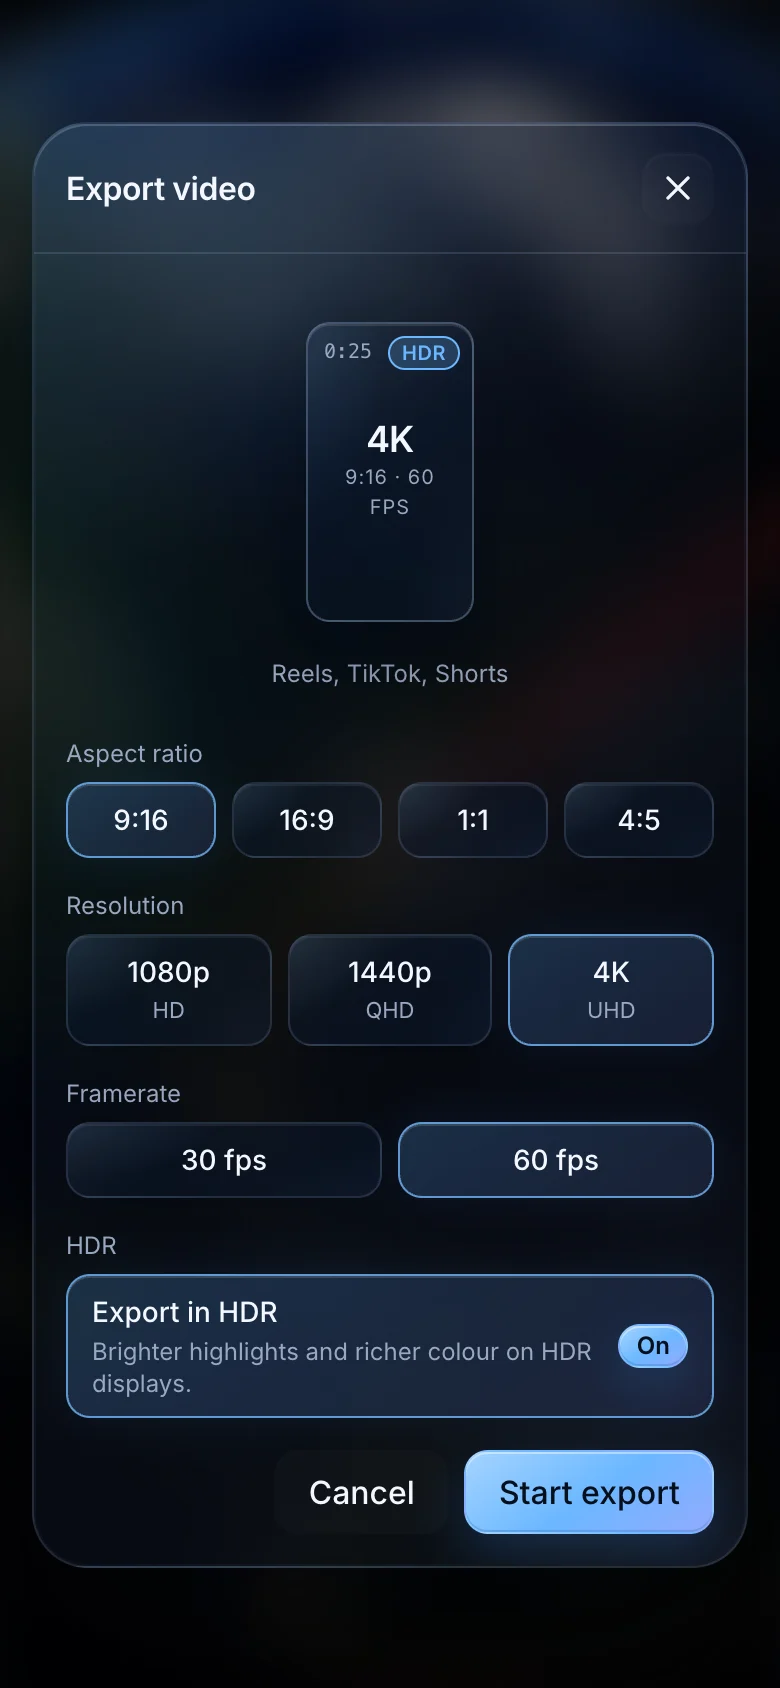
Set the video format
Open the Export video button beside Play. Choose Aspect ratio, Resolution, and Framerate. Use 9:16 for a full-screen vertical post or 16:9 for a landscape edit. For a first phone video, start with 1080p and 30 fps. If you change the format, return to the preview and check the new framing before exporting.
Export and save
Tap Start export. Watch the finished result, then tap Save to Photos or Share… to pass the file to another app. TrailVid exports silent video with a small TrailVid badge. Add music, narration, and footage in your video editor.
Start from the trip data you already have
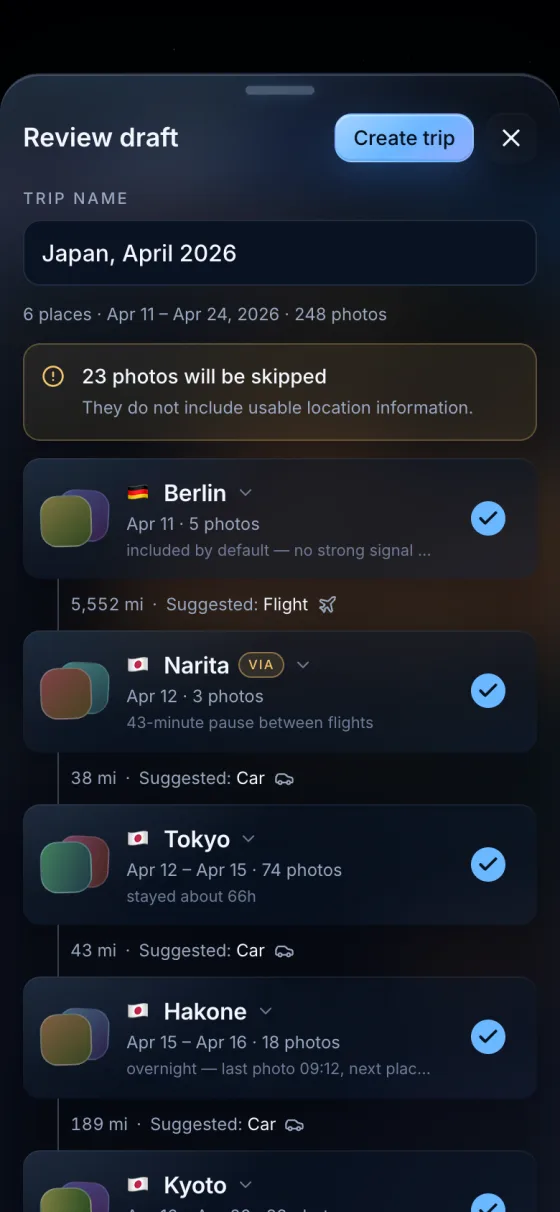
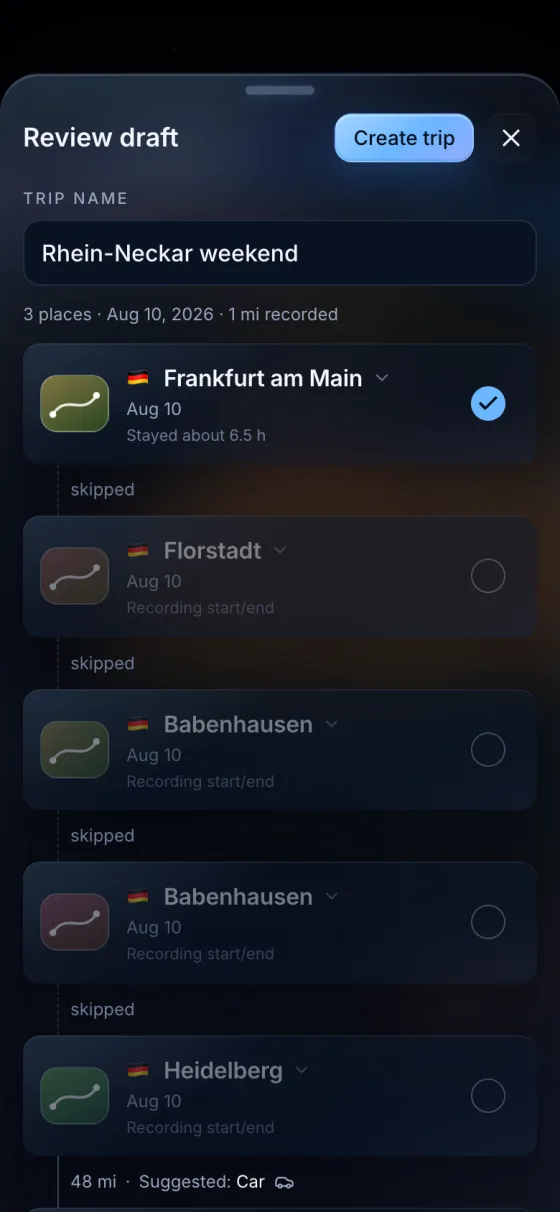
Manual entry works when you know the places in order. Use photo import when location and capture times can recover the itinerary. Use a GPX file when a recorded or planned line is part of the story. Each route becomes an editable trip before you export.
Use the nine-stop trip to plan several cuts
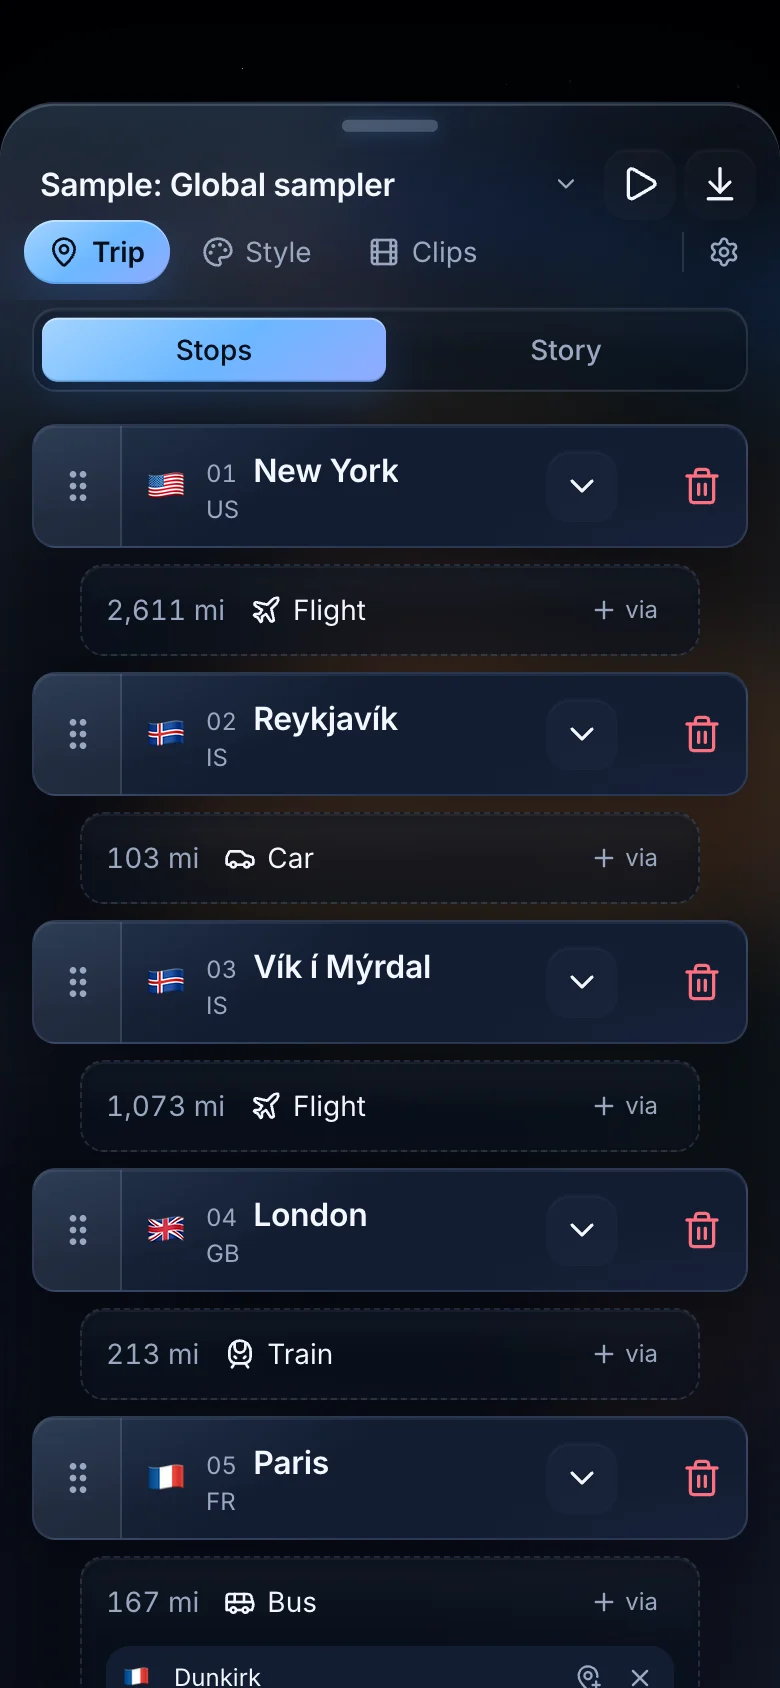
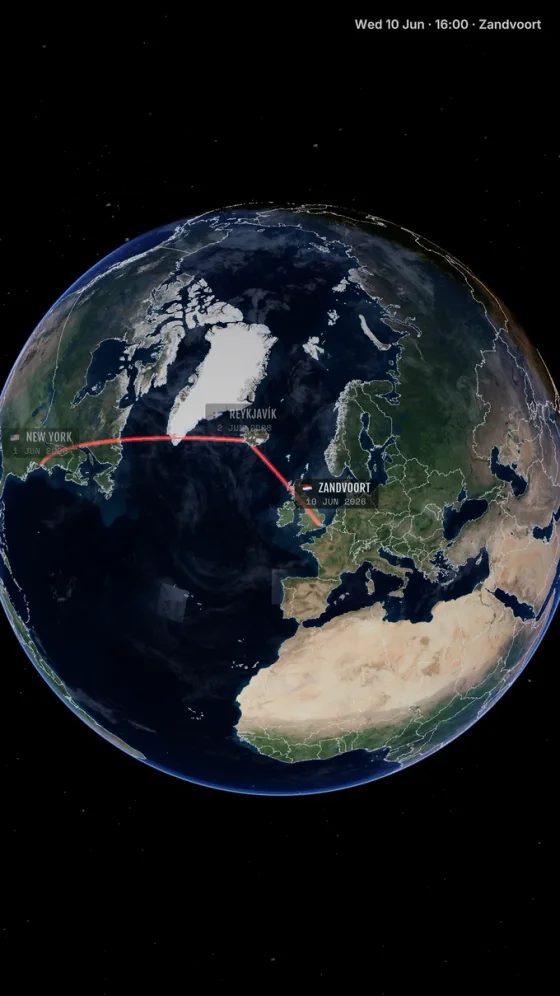
Once you have made a full-trip video, use clips when the same journey needs several cuts. This example runs from New York to Zandvoort through Reykjavík, Vík í Mýrdal, London, Paris, Bruges, Amsterdam, and Haarlem. Build that complete route before cutting clips. One correction to a place, date, caption, or transport leg then carries into each new export that uses it.
- Master film
- New York to Zandvoort, all nine stops
- Continuing chapters
- Three cuts that retain the route already drawn
- Highlights
- Iceland drive, Paris arrival, Dutch bike path
- Shared source
- One itinerary, one set of corrections
Keep one complete film for the whole route
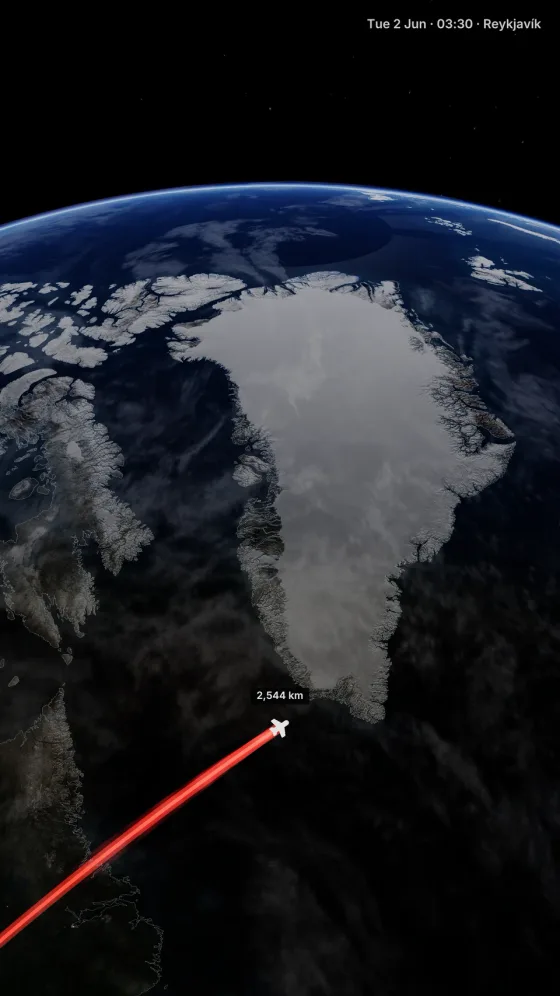
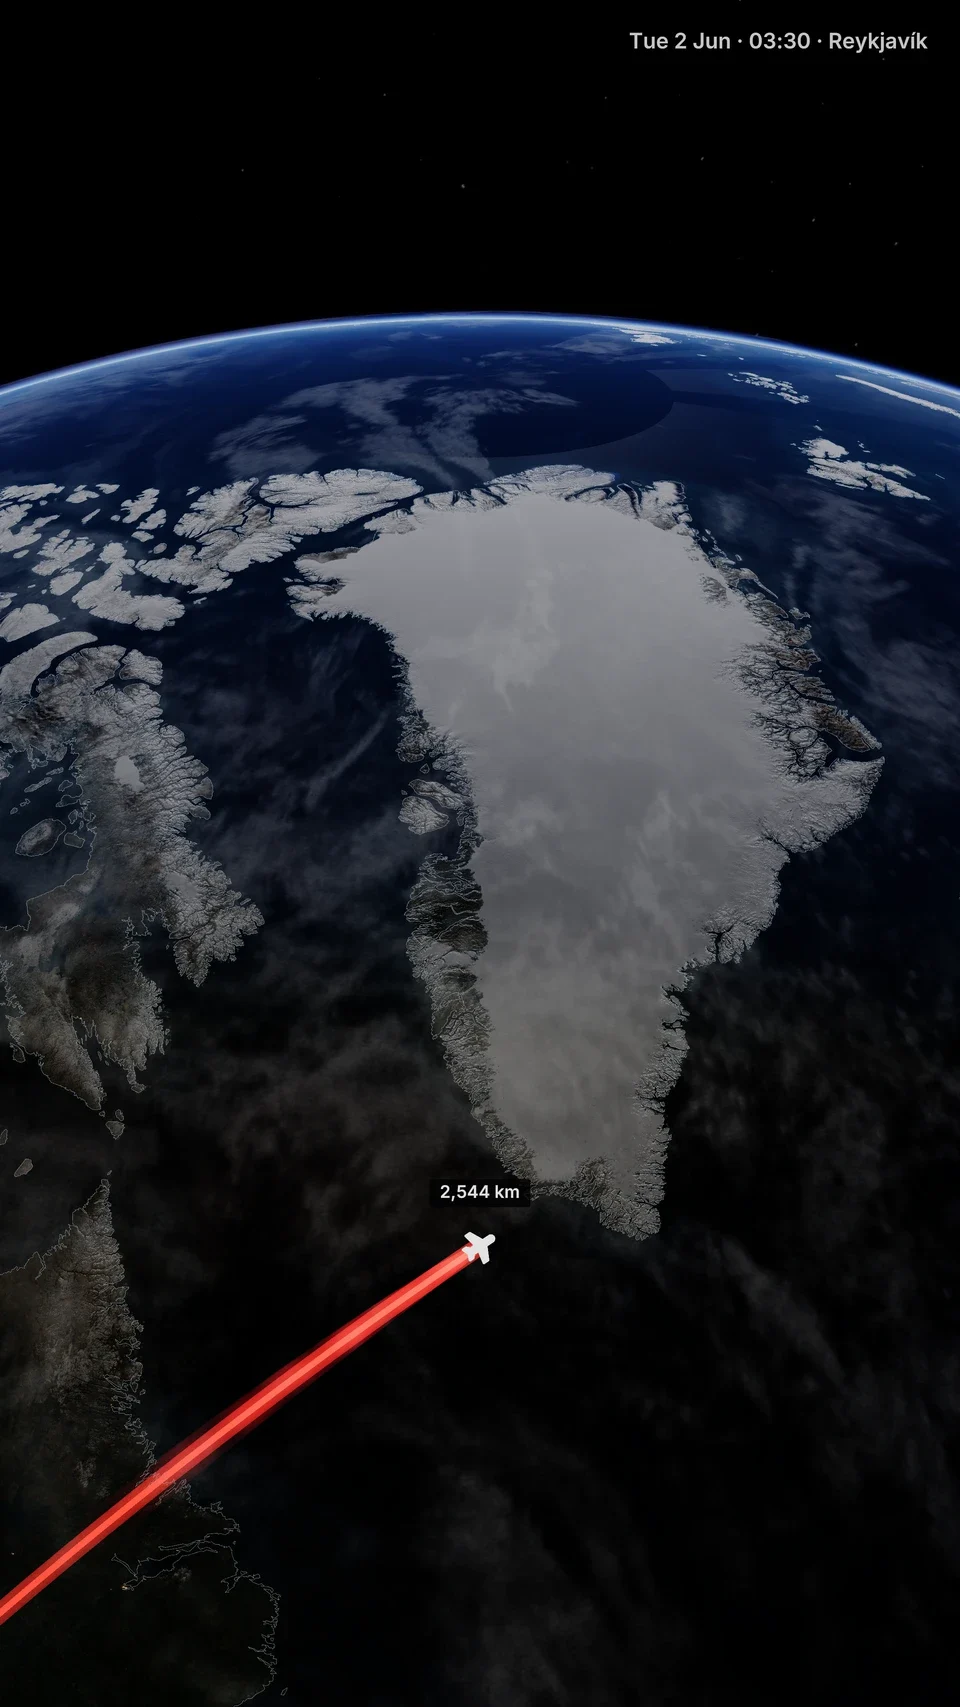
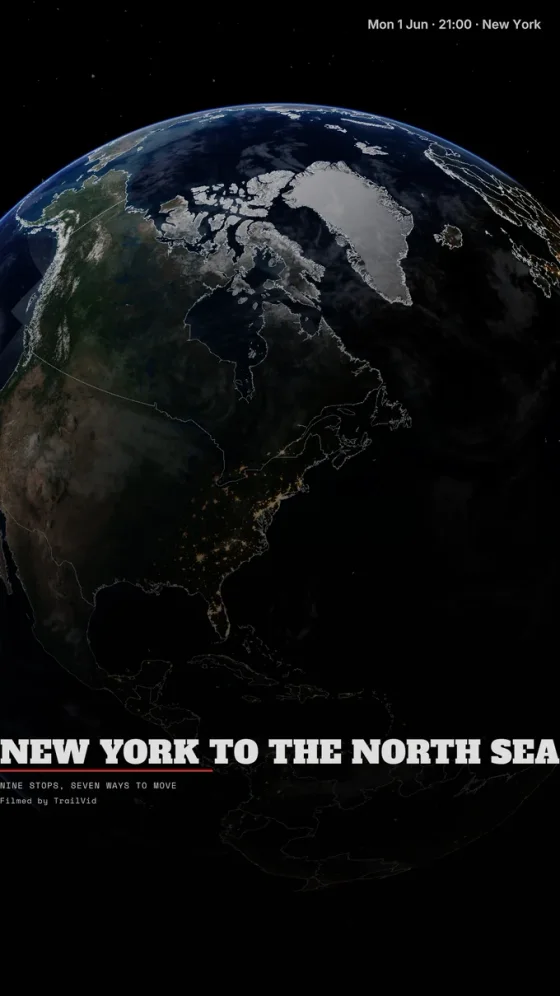
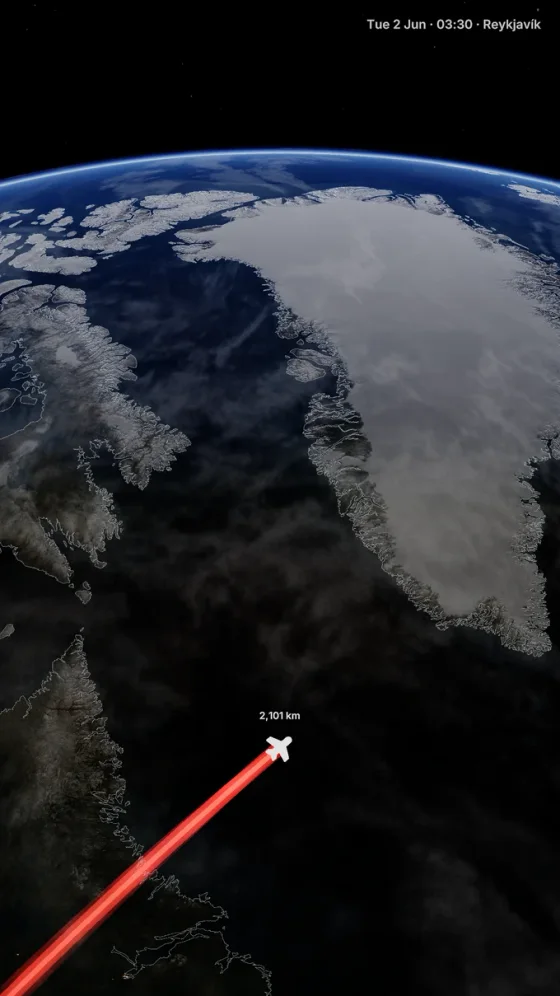
The complete film follows the journey from an Atlantic flight through an Iceland drive and a second flight into London. Train, bus, boat, bicycle, and walking legs then carry it across Europe.
Use this cut as a film opener, a standalone trip record, or the source for a final route recap. Check all nine arrivals in sequence. To simplify an arrival caption, open Trip, then Stops, tap the arrow beside that stop, and edit Caption. If the map spends too long at each stop, the manual pacing controls described below let you shorten those pauses.
Cut three chapters that still feel like one journey
A continuing chapter keeps the earlier route visible when the next chapter begins. Chapter two can start in London while the viewer still sees the Atlantic crossing that led there. Create these connected chapters in a group with Mode set to Chain. The group card displays CHAIN.
To choose how these clips open and end, first enable the manual camera controls: open Style, then Scene, and choose Custom under Direction. Choose Classic under Story style for the title, route, and closing overview used in this example. In Trip, open Story and keep Show opening card enabled. Enable Show closing card if you want a closing headline after the camera pulls back to show the route.
Keep a whole-trip clip
Open Clips. If it says No clips yet, tap Create clip from whole trip. This saves a clip covering the whole trip and reveals the group controls. Keep that clip for the complete film.
Create the chapter group
Tap New clip group. Choose Chain under Mode, enter “Connected chapters” under Label, choose Empty under Starting scope, then tap Create group. In the new group, tap Edit group (the sliders icon). Under Camera, set Ending to Finale + recap. Under Format defaults, choose the aspect ratio, resolution, and frame rate for these chapters, then close the sheet.
Across the Atlantic
In Connected chapters, tap New clip in group, then tap the new clip’s title to open Edit clip. Set Title to “Across the Atlantic.” Under Range, set From to New York and To to London. Close the sheet; changes are saved as you make them. The current sample estimates this chapter at about 18 seconds.
European lines
Tap New clip in group again, then open the new clip. Set Title to “European lines,” From to London, and To to Amsterdam. Close the sheet. This includes Paris and Bruges between the endpoints and takes about 11 seconds in the current sample.
Dutch coast
Add another clip in the same group. Set Title to “Dutch coast,” From to Amsterdam, and To to Zandvoort. Close the sheet. The range includes Haarlem and takes about 8 seconds in the current sample.
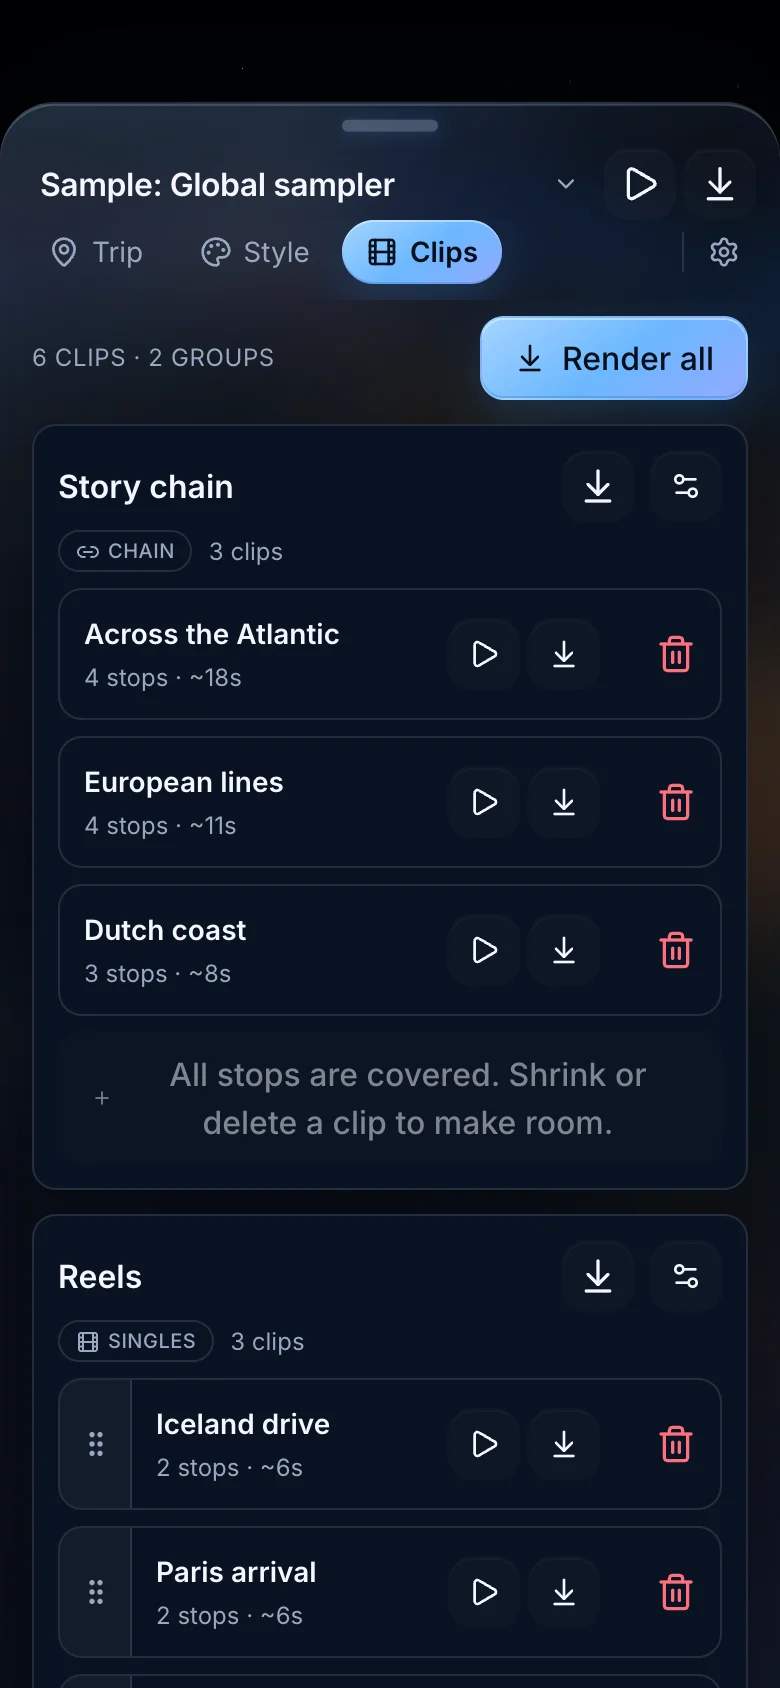
Those times are estimates from the current sample. Your trip, theme, and pacing choices change the duration, so use the estimate shown beside your own clip before placing it in an edit.
Finish creating the chain before judging its openings and endings. Its first clip begins with the trip’s title; the chapter names identify the saved cuts. The next chapters begin directly on the route, and the group’s Ending choice puts the final pull-back in Dutch coast. Change that ending in Edit group. Opening and Closing pickers are available on Singles clips.
On Across the Atlantic, tap Preview clip (the triangle) and check the title and London handoff. Then tap Render clip (the downward arrow on that same row) and tap Start export. Save the result to Photos. Repeat on each chapter’s row, or use Render group in the group header to export the group’s clips in sequence.
Make highlights that can be shared alone
A highlight that may be shared by itself needs enough context to make sense without the earlier chapters. Put these standalone clips in a group with Mode set to Singles. The group card displays SINGLES, and each clip has its own Opening and Closing controls.
Create a Singles group
In Clips, tap New clip group. Choose Singles, set Label to “Highlights,” choose Empty under Starting scope, and tap Create group. If this is your first clip, use Create clip from whole trip first to reveal New clip group.
Set the highlight’s range and name
In Highlights, tap New clip in group, then tap the new clip’s title. Enter “Iceland drive” under Title. Set From to Reykjavík and To to Vík í Mýrdal. Under Link across clips, leave Link openings and Link closings off when each highlight needs different choices.
Choose its first and last frames
With the manual camera settings selected above, find Story shape in Edit clip. Set Opening to Establishing for a wide view before the title, and Closing to Hard cut to finish at Vík. Close the sheet. On the clip’s row, use Preview clip, then Render clip to export and save this range.
Add the other highlights
Use New clip in group for “Paris arrival,” from London to Paris, and “Dutch bike path,” from Amsterdam to Haarlem. Singles ranges can overlap. For a title followed by travel and an immediate handoff at the destination, choose Opening: Title only and Closing: Hard cut.
- Iceland drive
- Reykjavík to Vík í Mýrdal, with a wide opening view
- Paris arrival
- London to Paris, title first, finish on arrival
- Dutch bike path
- Amsterdam to Haarlem, showing only this ride
Choose how each clip starts and ends
To change a standalone clip’s first and last shots, tap its title in Clips. These choices use the manual camera settings selected above. Under Story shape, choose Opening and Closing. Establishing adds a wide approach before the title; Title only starts on the card; Cold open begins directly on the route. Hard cut finishes on the last stop, Finale only pulls back and holds, and Finale + recap adds the closing orbit. Keep Link openings and Link closings off to change only this clip. Chain groups join the ranges into one sequence: the first clip has the opening, and the last uses Ending from Edit group.
How the opening and ending change for a full film or connected chapters.
| Cut | Opening | Closing | Use it for |
|---|---|---|---|
| Full film in Singles | Title only | Finale + recap | A complete route-led sequence |
| First Chain chapter | Title only, assigned by Chain | Hard cut, assigned by Chain | A named beginning that cuts into footage |
| Middle Chain chapter | Cold open, assigned by Chain | Hard cut, assigned by Chain | A continuation inside an established film |
| Final Chain chapter | Cold open, assigned by Chain | Finale + recap, selected in Edit group | The end of the continuing story |
Preview the exact clip before export. A standalone clip moves through just the places you selected. Connected chapters continue through the longer trip. Watch the opening, each arrival, and the transition into your next shot.
With Custom selected under Direction, you can also adjust how long the camera spends at each stop. To change the time at arrivals, open Style, then Scene, and set Time at each stop to Brief under Pacing. Use Lingering when the caption needs longer. For one group only, use that group’s Edit group sheet and its Pacing controls. Preview after every change.
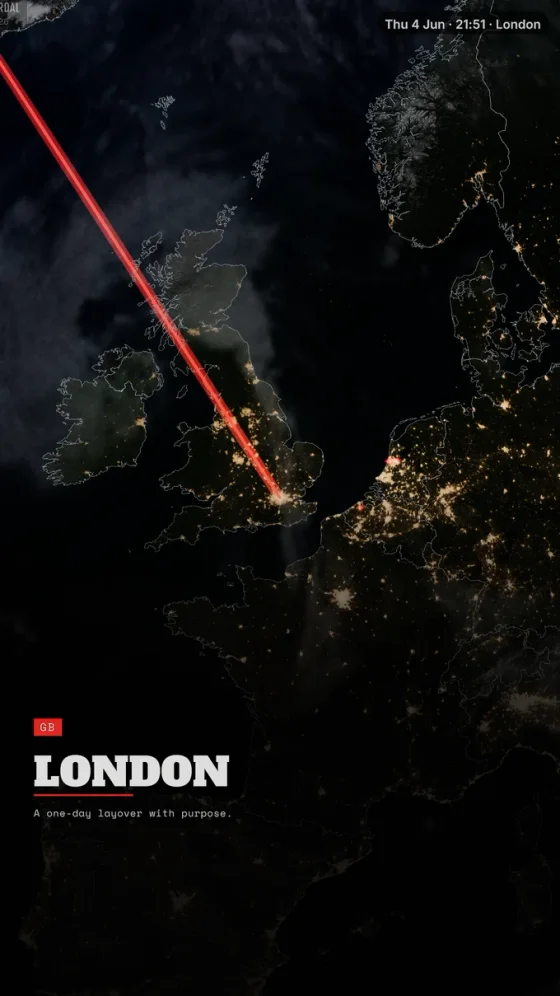
From the opening title to the final overview
Compare themes on the same arrival
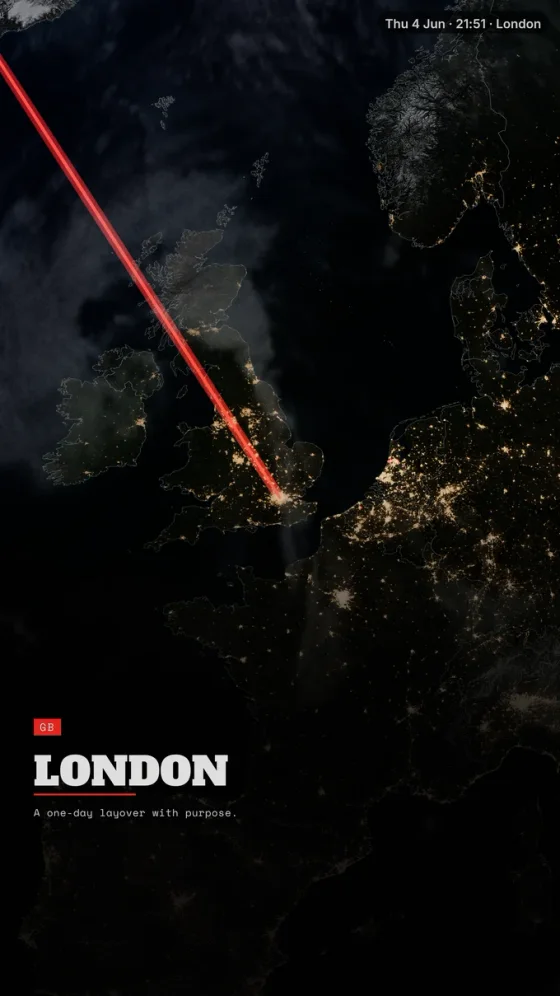
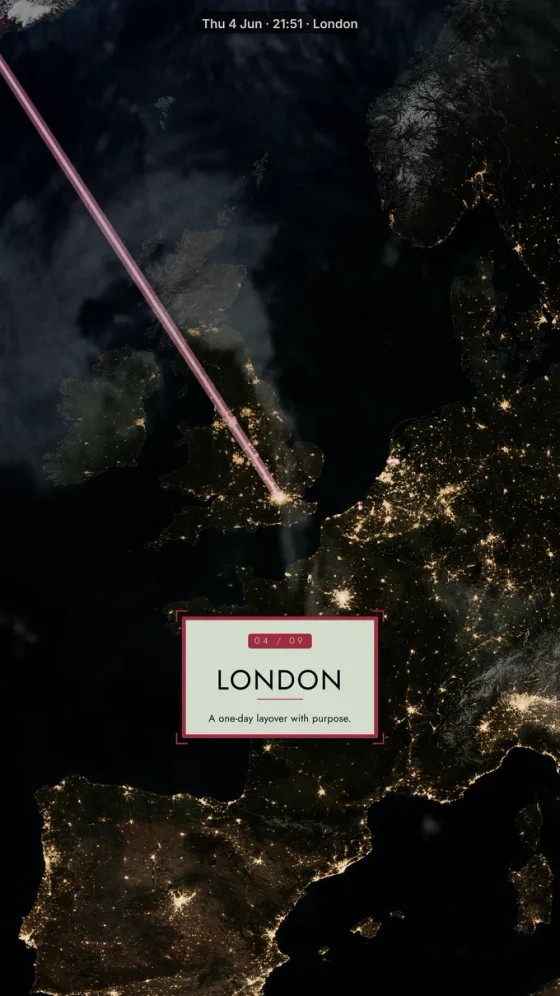
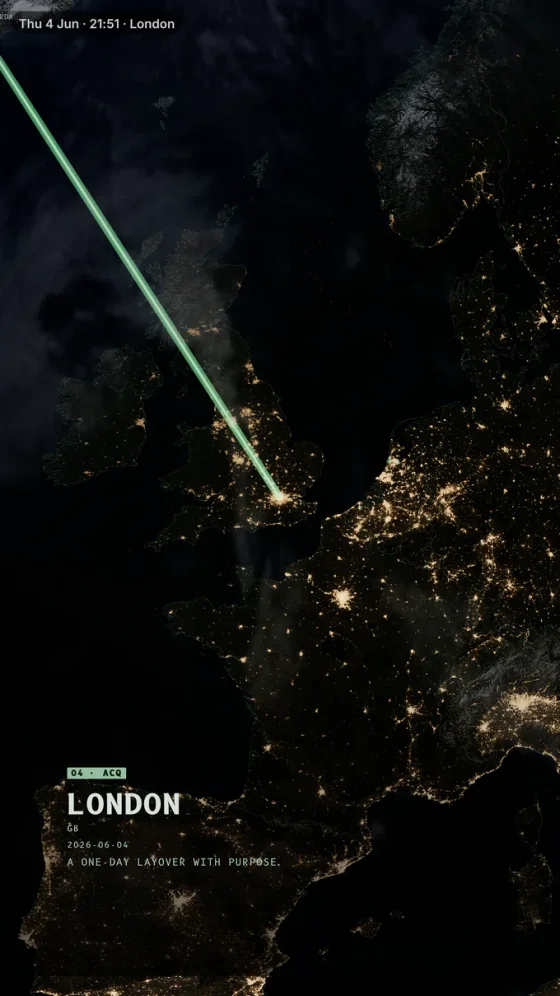
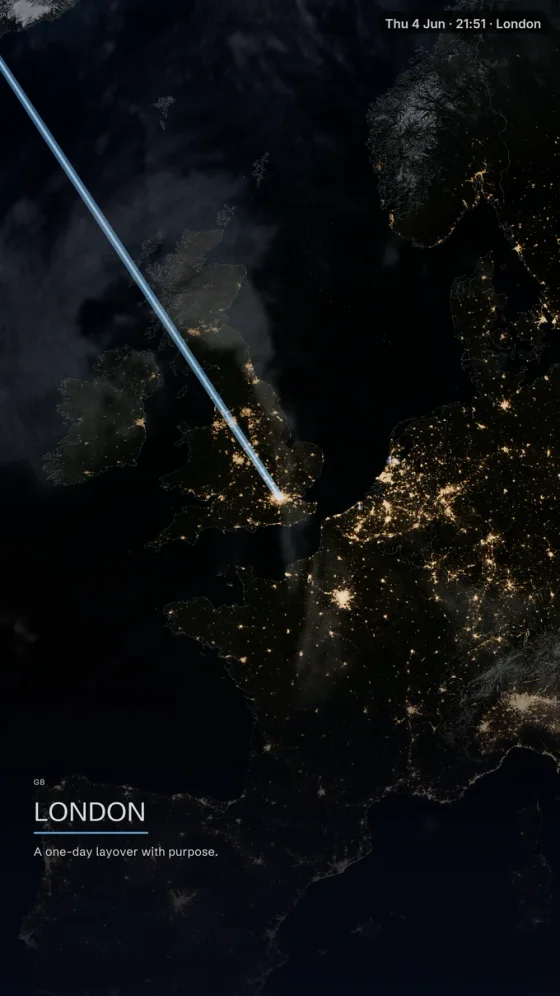
Keep the itinerary and clip ranges, then compare themes on the same arrival. The lettering, cards, route line, and atmosphere change together. The London frames below show what each theme contributes before you apply it to the whole film.
The same London arrival in different themes
Use one theme across a connected chain unless a visual break has a clear editorial purpose. Standalone highlights can take a different treatment when they belong to another series or channel.
For a widescreen film, check title size and route visibility from farther away. With TrailVid on Apple TV, you can change the theme on your phone and see the TV preview update without exporting between revisions.
Preview while you edit
Export each cut for where it will actually appear
Choose the aspect ratio and frame rate used by the film you are editing. TrailVid composes cards, labels, and framing for the selected format, so make a dedicated vertical export instead of cropping a landscape file afterwards.
- Vertical
- 9:16 for Reels, TikTok, and Shorts
- Landscape
- 16:9 for a standard YouTube or film timeline
- Feed
- 1:1 or 4:5 for square and portrait placements
- Frame rate
- Match the surrounding edit when possible
TrailVid exports silent video. Add music, narration, and sound design in the editor where the map meets the surrounding footage. Watch the finished placement once for geography and reading time, then once with sound for the timing of the handoff.
Before publishing a vertical cut
Questions
Common questions
What is a travel map video?
A travel map video is an animated sequence that shows places and the route between them. It can introduce a complete trip, bridge two scenes, or recap the journey at the end.
How many stops should a travel map video include?
Include the stops needed for that cut. The master trip can keep the complete itinerary, while a transition or highlight can use a clip between selected stops.
Which format should I export?
Use 9:16 for full-screen vertical platforms, 16:9 for landscape timelines, and 1:1 or 4:5 for feed placements. Match the frame rate of the surrounding edit when possible.