In this article
How to animate a road trip
See what the Iceland itinerary makes
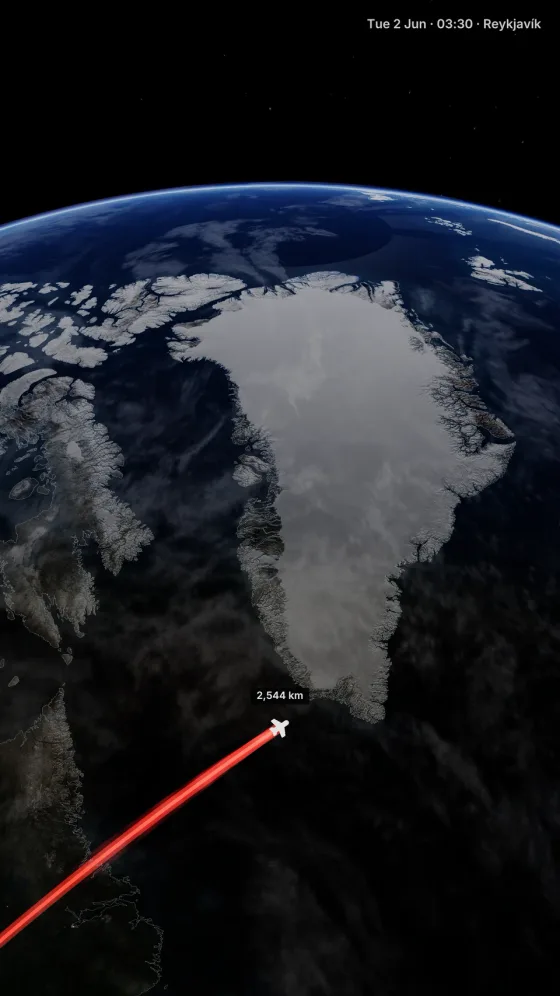
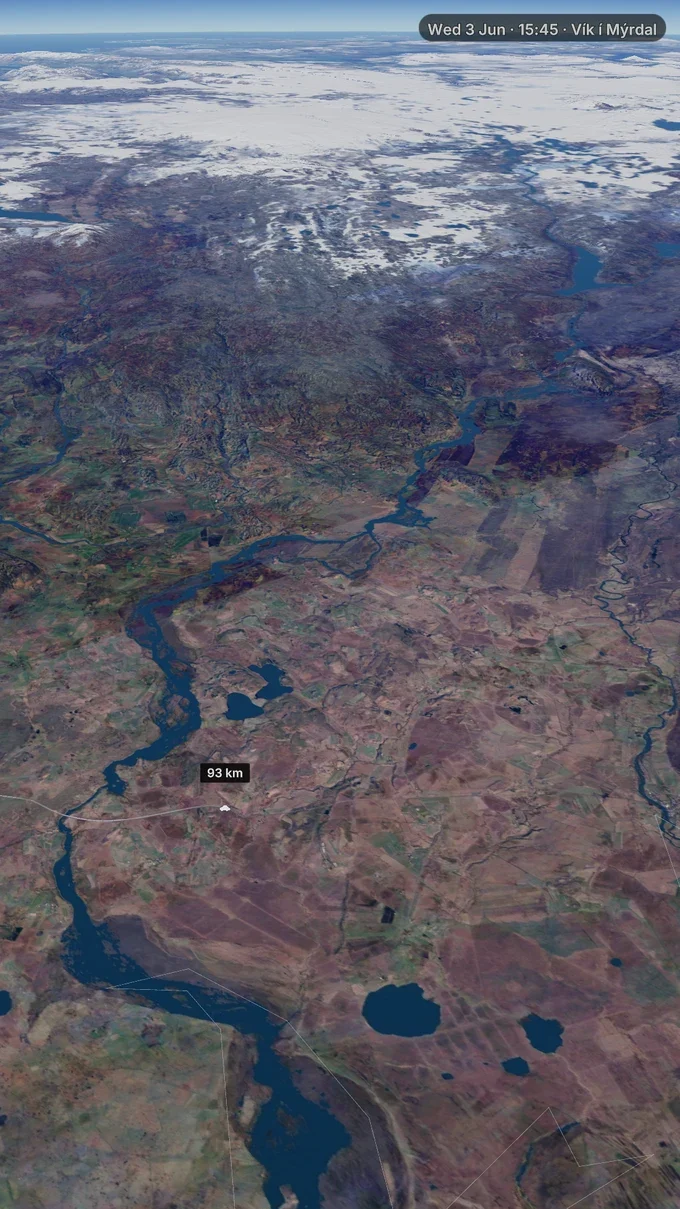
Watch the camera follow the road from Reykjavík to Vík í Mýrdal, then pause to introduce the destination. To make a video like this, you will add those places and choose Car for the journey between them.
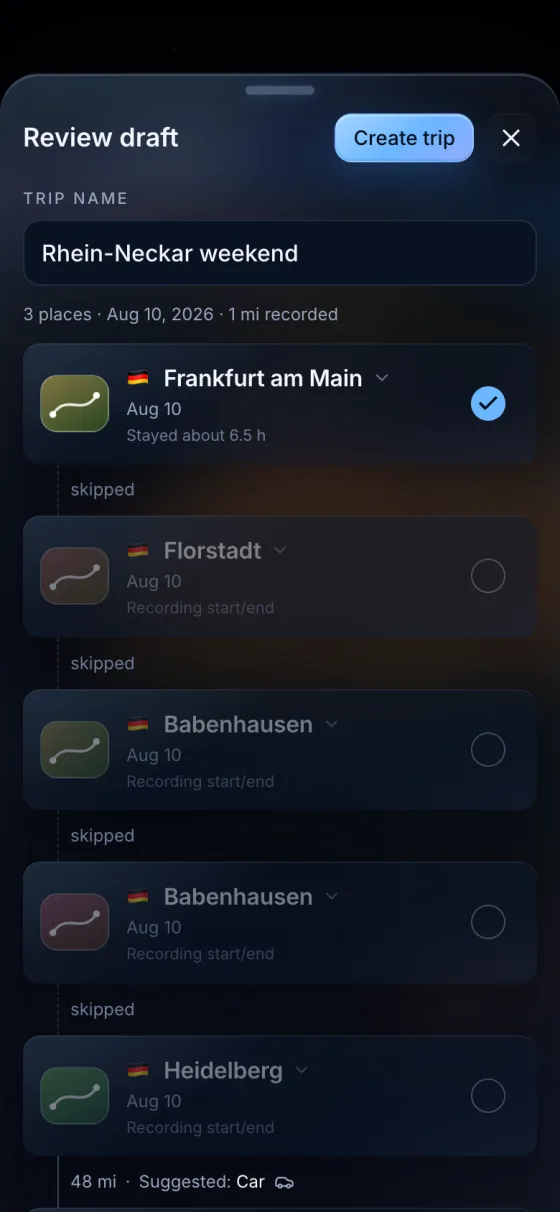
TrailVid calculates the road route between the places you add. Check it against your drive. If you have a GPX recording from the trip, you can import that to follow the route you recorded.
Add the places your viewer needs to recognize
Create a trip and add the departure
Tap the trip name to open Your trips, choose New trip, then Add stop. Search for the place where this drive begins. For the example, add Reykjavík in Iceland.
Add the destination
Choose Add stop again and search for Vík í Mýrdal. Check the country and the order of the places. For a longer drive, add each destination in the order you visited it.
Choose Car for the connection
Tap the connection row between the stops and choose Car. Repeat for the driving legs in your own trip. The transport choice determines how TrailVid draws each connection.
Keep a town as a stop when its arrival helps explain the trip: an overnight stay, the start of a hike, or the place where the next part of your film begins. A town you only passed through may belong as a routing waypoint. Adding every town as a stop also adds places for the film to introduce.
Choose stops and places to pass through
Choose whether the place needs an arrival, guides the road, or belongs to a recorded route.
| When | Use | What it changes |
|---|---|---|
| The viewer should recognize a destination | Add stop | The place becomes part of the itinerary, with an arrival and optional caption. |
| The computed road should pass through a place | + via on the connection | The waypoint guides routing without receiving its own destination marker, label, or arrival. |
| The line should follow a drive you recorded | Import the GPX recording | Connections covered by the recording use its line. Gaps still need review. |
To add a waypoint, find the connection between the relevant stops, tap + via, and search for the pass-through place. TrailVid requests a route through it. Check the resulting line before adding another waypoint. A place already on the computed route may leave the line much the same.
If that place deserves an arrival after all, use the waypoint’s Promote to a stop action. It becomes a destination between the existing stops. Preview again to judge whether introducing that extra place helps the film.
Working from a recording?
Check the route follows the right roads
For Car legs, TrailVid uses Mapbox to calculate a road route through your stops and waypoints. Wait for Finding route to finish, then inspect the line between each pair of destinations. Compare it with the route you intend to show, especially where the drive could follow different roads.
If the connection shows Retry, the road request failed. Check your connection and tap Retry. The animation can still play using a smooth line that may not follow the roads, so playback alone does not prove that road routing succeeded. Resolve the failure and inspect the road again before exporting a film that depends on the road shape.
When the computed route uses the wrong road, add a waypoint at a place along the road you want and check the new result. When the film needs the traced line from a past drive, import a recording that covers it. A planned GPX route describes a plan; it does not prove a completed drive.
Add a caption and preview the arrival
To match the pale road line and bold lettering in this example, open Style, then Theme, tap Manage Themes, and tap Use on the theme named Signal. In Scene, choose Journey under Direction to have the camera follow the drive.
To add a detail beneath the destination name, open Trip, then Stops, and tap the arrow beside the destination. Write a short Caption and set the dates and times to match your trip.
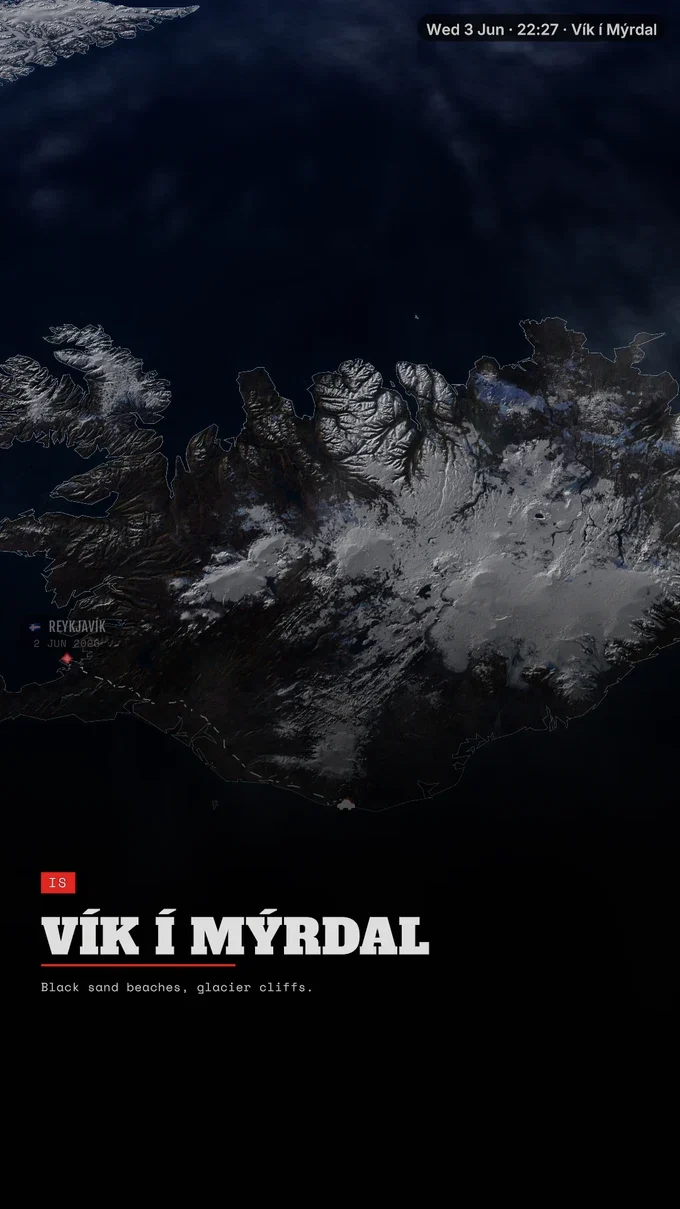
Tap Play preview and watch from the beginning. Check that the road leads to the intended destination and that you can read the arrival before the film moves on. Shorten a crowded caption, or remove it when the place name already says enough. Watch the revised sequence again before exporting.
Export the map and save it to Photos
Open Export video and choose the frame shape
Use 9:16 for a tall video that fills a phone screen, as in this example. Use 16:9 when the map belongs in a landscape film. Choose Resolution and Framerate to match your edit, or start with 1080p and 30 fps for a map shared by itself. Check the duration shown for your trip. If you change the shape, return to preview before exporting.
Start the export
Tap Start export and keep TrailVid open on iPhone while it finishes. Once the finished video appears, play it through to check the opening, road, destination, and ending.
Save the finished video
Tap Save to Photos on iPhone. Open the saved file in Photos before sharing it or adding it to your travel film.
TrailVid exports silent video with the TrailVid badge. Add music, narration, and your driving footage in your video editor. Place the map where it explains a change of location, then let the footage show what happened there.
Prepare the rest of the edit
Questions
Common questions
Can a road-trip map include a flight or ferry?
Yes. Choose transport separately for each connection between stops. Keep the driving legs set to Car and use Flight or Boat for the relevant parts of the trip. Check each route in the preview before exporting.