In this article
The short answer
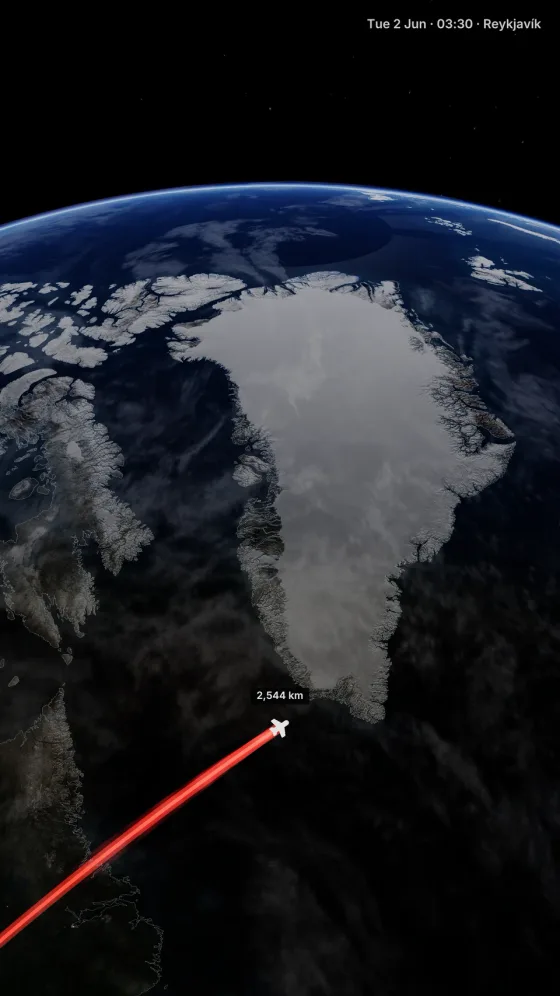
Compose the map at 9:16
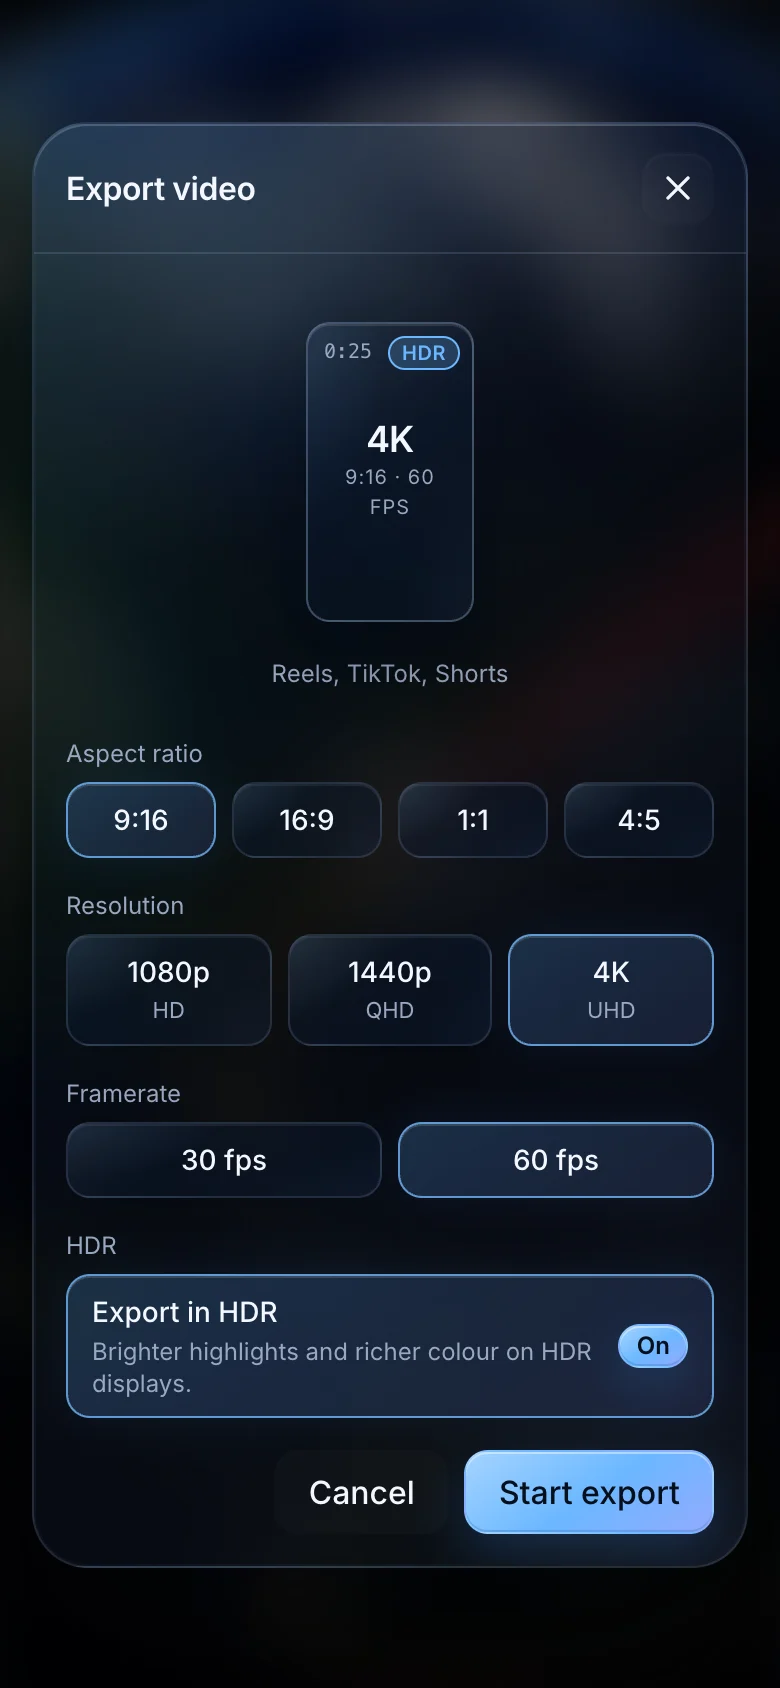
For a whole-trip video, open Export video and set Aspect ratio to 9:16. For a saved clip, open Clips, tap Edit group (the sliders icon) on its group, and set Aspect ratio to 9:16 under Format defaults. Close the sheet and use Preview clip on the intended row. TrailVid composes its cards, labels, and framing for the chosen shape, so check that dedicated vertical composition before export.
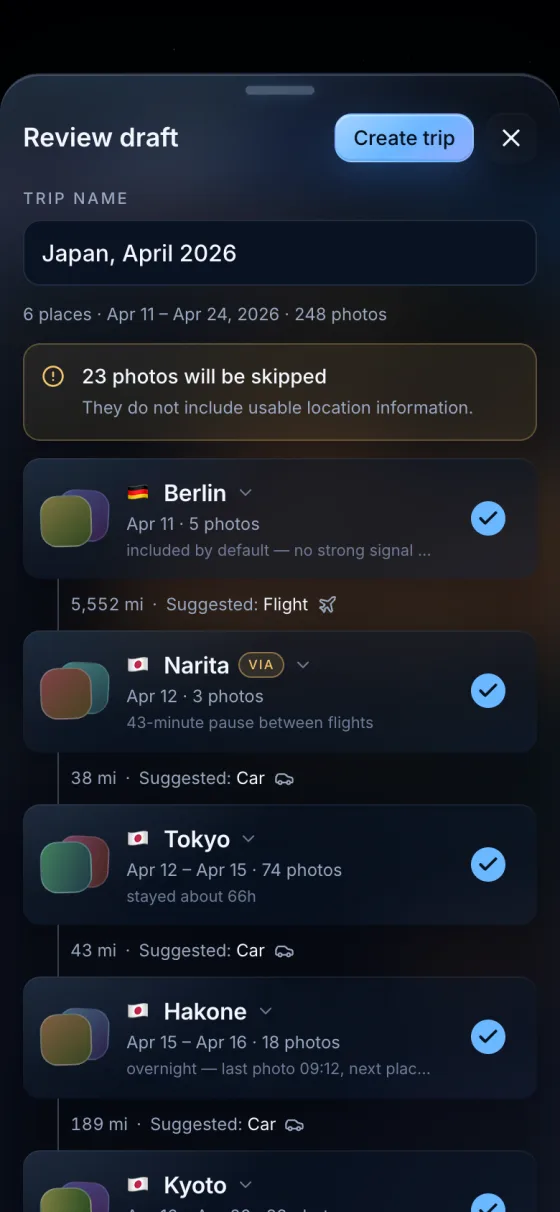
Begin with the geographic move the post needs. Amsterdam to Zandvoort can explain the journey to the coast. The full New York to North Sea itinerary earns more screen time when the whole journey is the subject. For a transition, choose the stops where the preceding footage ends and the next scene begins.
Build the route before shaping the post
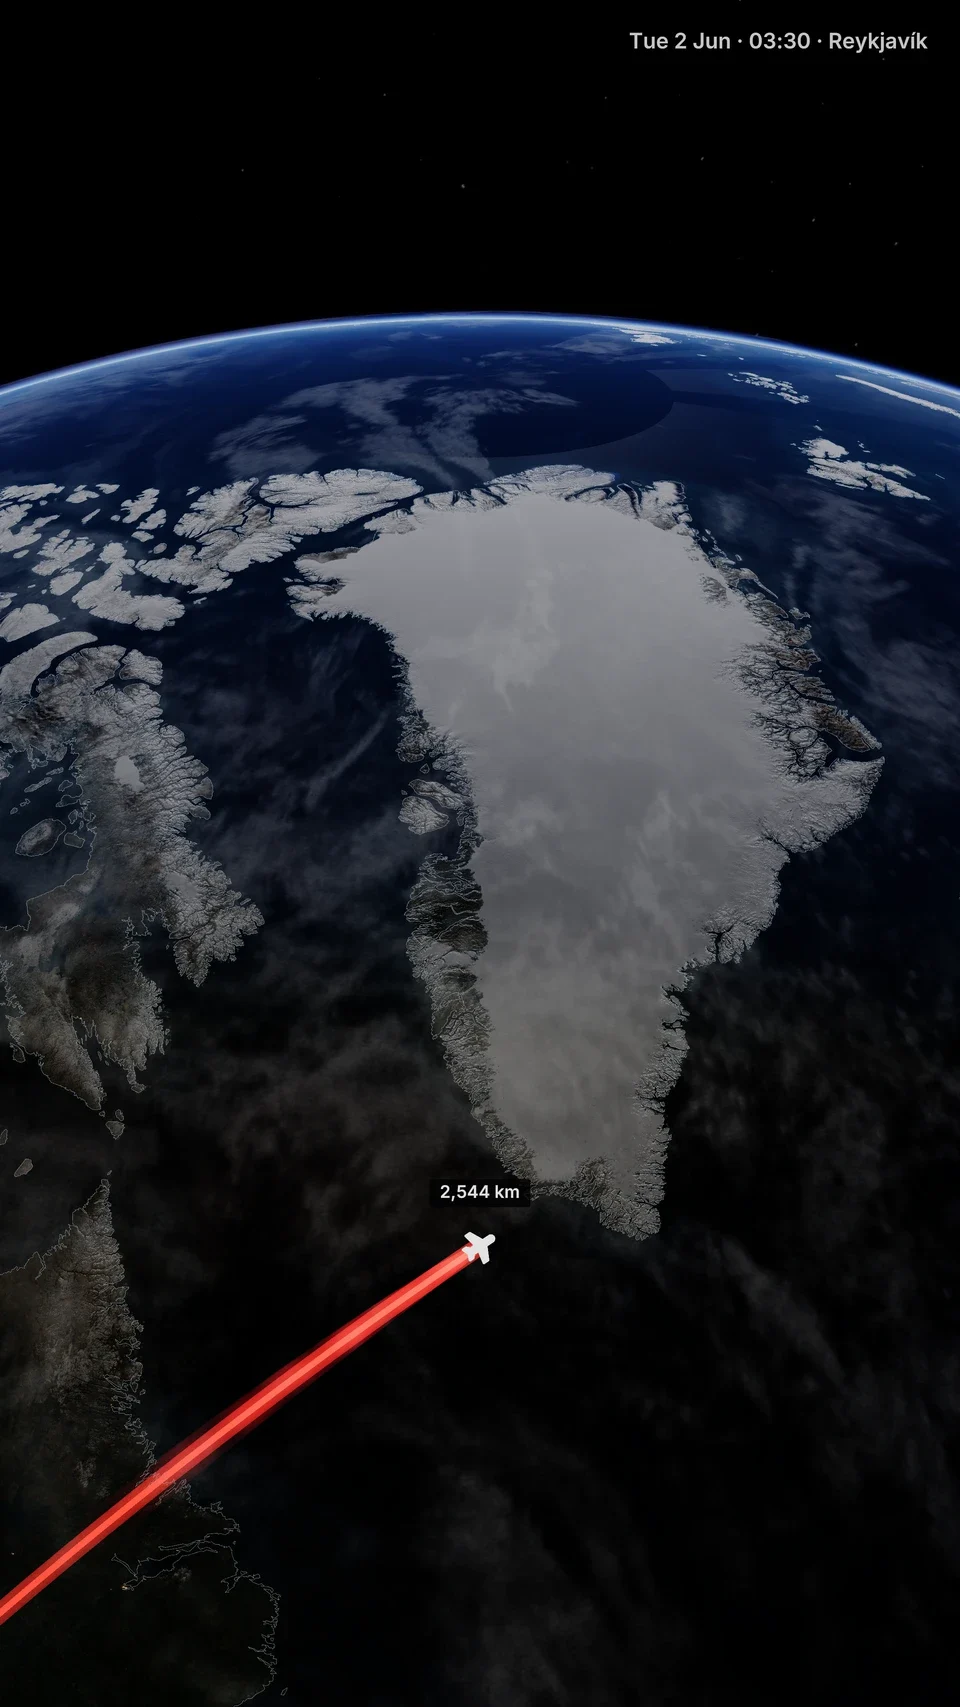
Keep the place names readable at phone size
Play the arrival with the phone at its normal viewing size. Read the title and place name without pausing. If they compete for attention, shorten the title or caption and remove information the surrounding footage already supplies.
For the whole trip, open Style, then Scene, and scroll to On-globe. Open Label visibility. As you go reveals labels as the trip reaches each stop; Just active limits labels to the active leg. Choose Just active when nearby names crowd the route, or None when the drawn route already says enough. Close the controls and preview the same arrival again.
For a clip title, open Clips, tap the clip’s title, and edit Title and Subtitle under Identity. “Dutch coast” identifies the chapter; “Amsterdam to the North Sea” supplies the destination. To shorten an arrival caption, open Trip, then Stops, tap the arrow beside the stop, and edit Caption. To shorten the whole-trip title, tap the trip name, open its three-dot menu in the library, choose Rename, and save the shorter name.
Choose where the map enters and leaves the edit
Choose the geographic range from the job in the post.
| Moment | Range | Handoff to the footage |
|---|---|---|
| Trip opener | The full route when geography is the subject | Give the title time to read, then end on the arrival that leads into the footage. |
| Chapter transition | The move between the two scenes, such as Amsterdam to Zandvoort | Finish on the destination so the next shot shows the place just reached. |
| Closing recap | The full route | Use the final pull-back and closing card after the last travel shot. |
The video length depends on your stops and camera settings. If the map takes too much of the post, open Clips, tap the clip’s title, and shorten its Range using From and To. To adjust the speed yourself, open Style, then Scene, and choose Custom under Direction. This reveals the manual camera and pacing controls. Set Travel speed to Brisk under Pacing, or use Travel speed in Edit group to change only that group. Preview again: faster travel should still leave time to read arrivals.
To end on a wide view of the completed route, use the manual camera controls: open Style, then Scene, choose Custom under Direction, and select Classic under Story style. Open Trip, then Story, enable Show closing card, and write its Headline. In Clips, tap the title of the recap clip covering the whole trip. Leave Link openings and Link closings off, then set Opening to Cold open and Closing to Finale + recap. Close Edit clip and use Render clip on its row. Trim the final pull-back and closing card from that export in your editor. Saved clips select stop ranges; there is no export control for the recap scene alone.
Follow the worked cut plan
Check for text hidden by app controls
Publishing apps can place account information near the top, captions and controls near the bottom, and buttons along one side of the video. Check the opening title at its longest line, the busiest route frame, and the final arrival or closing card.
Frames to test before publishing
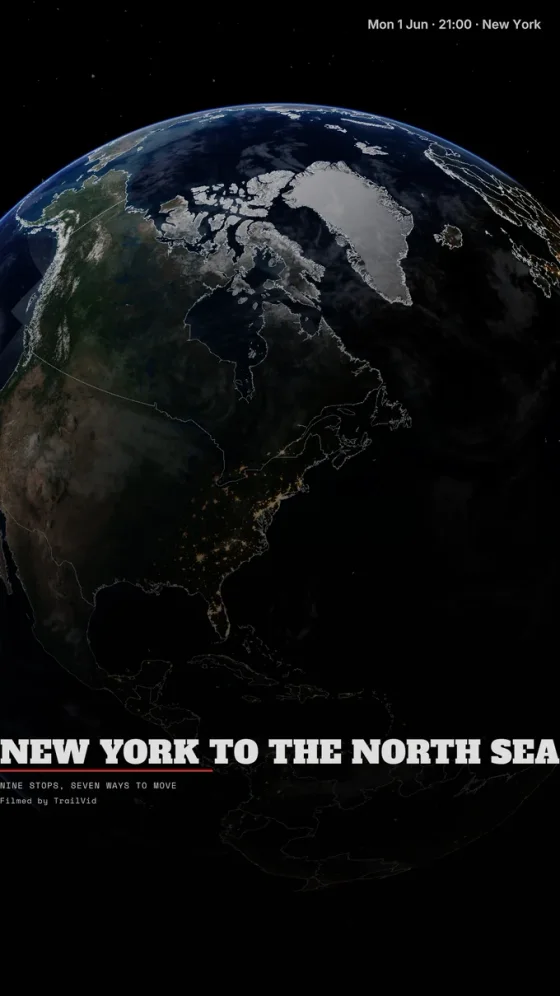
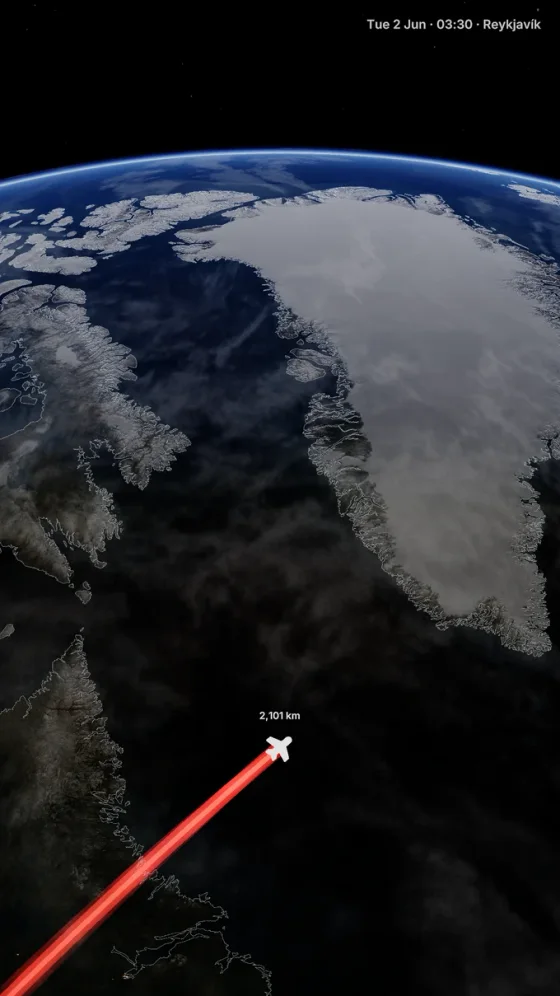
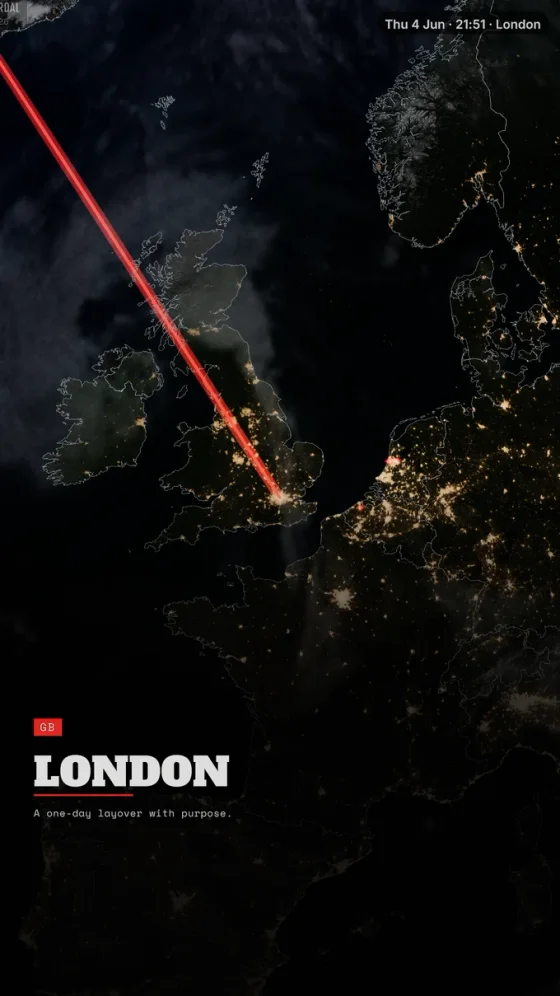
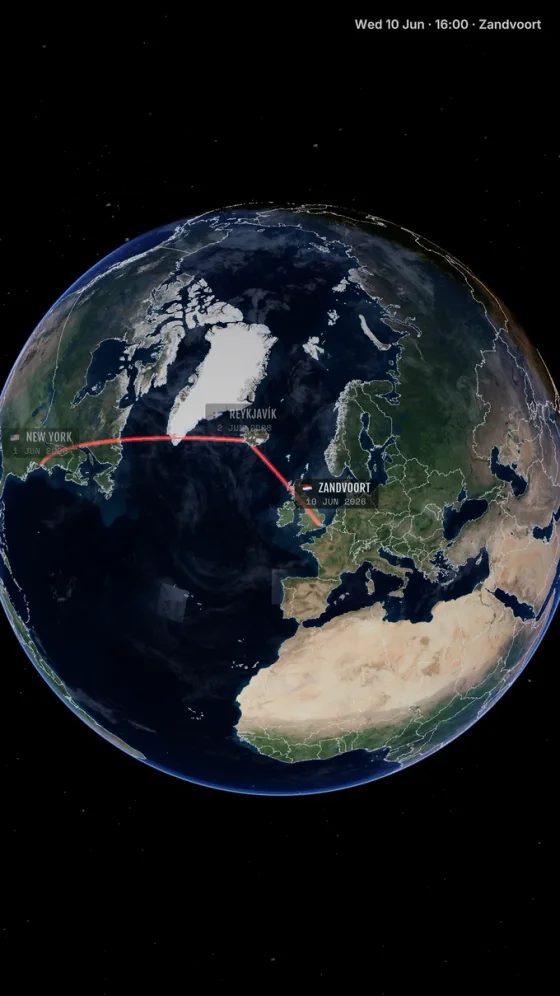
These shaded regions illustrate possible obstruction. Check the finished edit in the destination app’s current preview with the actual caption and controls visible. If a title is covered, shorten it through the Title or Rename controls described above. If an arrival is crowded, shorten its Caption or choose Just active for Label visibility. If the chosen card layout still puts essential text behind controls, open Style, then Theme, tap Manage Themes, and tap Use on another theme. Preview and export the changed composition before uploading it again.
Finish sound and delivery in the editing app
Choose the resolution and match Framerate to your edit at 30 or 60 fps. For a map shared by itself, start with 1080p and 30 fps. For a whole-trip video, use Export video; for saved clips, set these choices in Edit group under Format defaults, then tap Render clip on the intended row. Tap Start export, watch the result, then Save to Photos or Share… to your editor. TrailVid’s output is silent and includes its badge. Add music, narration, ambient sound, and transition effects where the map sits beside the footage.
- The file is a dedicated 9:16 export.
- The title remains readable beside the publishing app’s controls at phone size.
- The first frame makes sense after the preceding footage.
- The last frame makes sense before the following footage.
- The exact runtime comes from the TrailVid preview.
- The current platform preview has been checked with its controls visible.
Questions
Common questions
What aspect ratio should I use for Reels, Shorts, and TikTok?
Use 9:16 for a full-screen vertical video on Reels, YouTube Shorts, and TikTok.
Does TrailVid add music to a travel map video?
No. TrailVid exports a silent map sequence. Add music, narration, and sound design in the editor used for the finished post.
Can I export shorter parts of one trip?
Yes. Choose the first and last stops for each clip. Use a Chain group for chapters watched in sequence, or a Singles group for clips that stand alone.
Can I reuse the 9:16 file for a 4:5 post?
Create and inspect a separate 4:5 export. TrailVid adapts cards, labels, and framing by format, so a crop of the 9:16 file is a different composition.